Exporting to Excel
This tutorial covers the steps to create a custom Excel template and use this template to export data from System One to Excel.
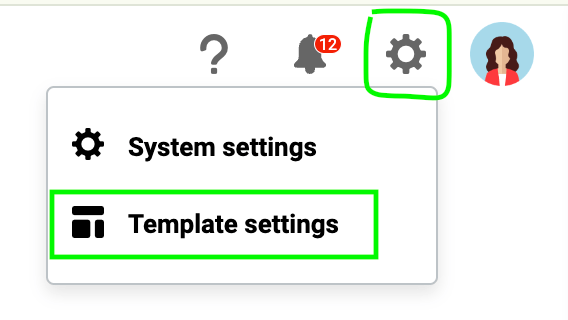
You can access the Template settings by clicking the avatar menu in the top right of the screen. If you don't see this option, ask your system administrator to give you permission.
1 Go to the Template settingsand go toExcel templates.

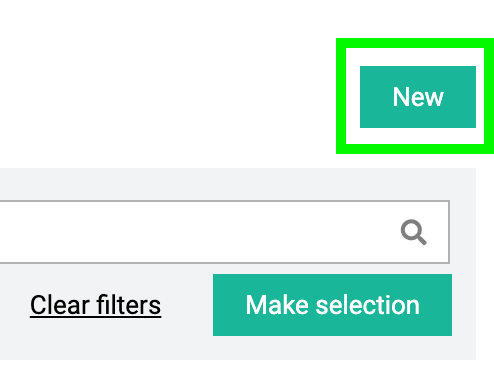
2 Navigate to the section from where you want to export and create a new export template by choosing New.
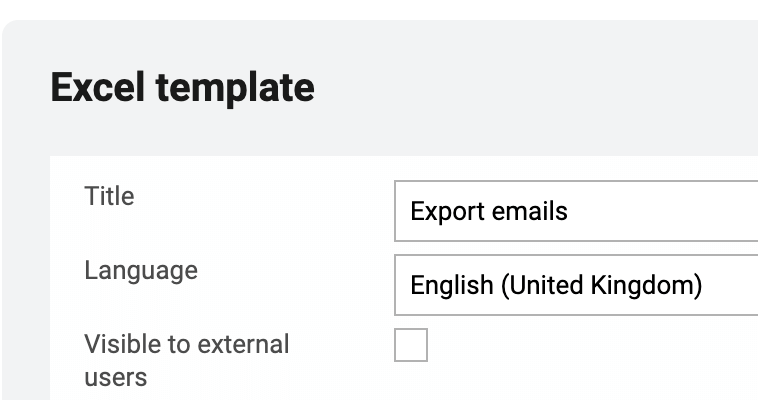
3 Give the template a name. In this example we will create a template called Export emailsin the Showsection.
4 Then hit the button Add columnsto add the database columns that you want to use in your export.

Tip: you can rename the labels of the columns and change the order in which they export by dragging columns up or down.
5 When you are done selecting the data columns, close the panel and select Save. The template you have just created is now visible in the list.
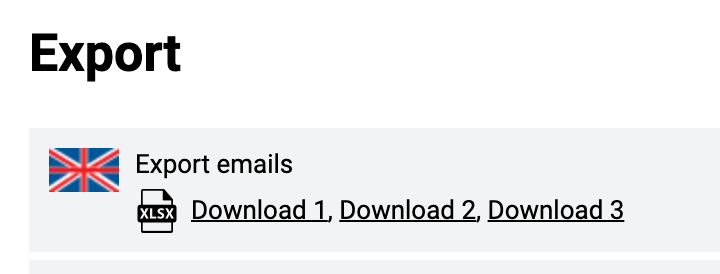
6 To use the export, you need to navigate to the section you want to export data from (in this example, the Show section). Here you can export all the available data or use the available filters to export a specific set of data.

7 Choose the download icon to access the template that you have created and select the export you created.

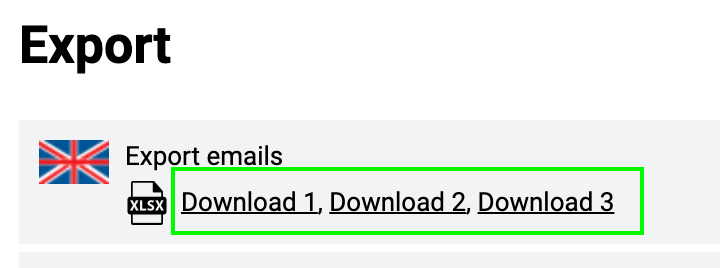
8 Open the file in Excel.
